
Build your own Android TV app with Antigravity
 Senthilkumar Murugesan
30 Oct 2026 · 9 min read
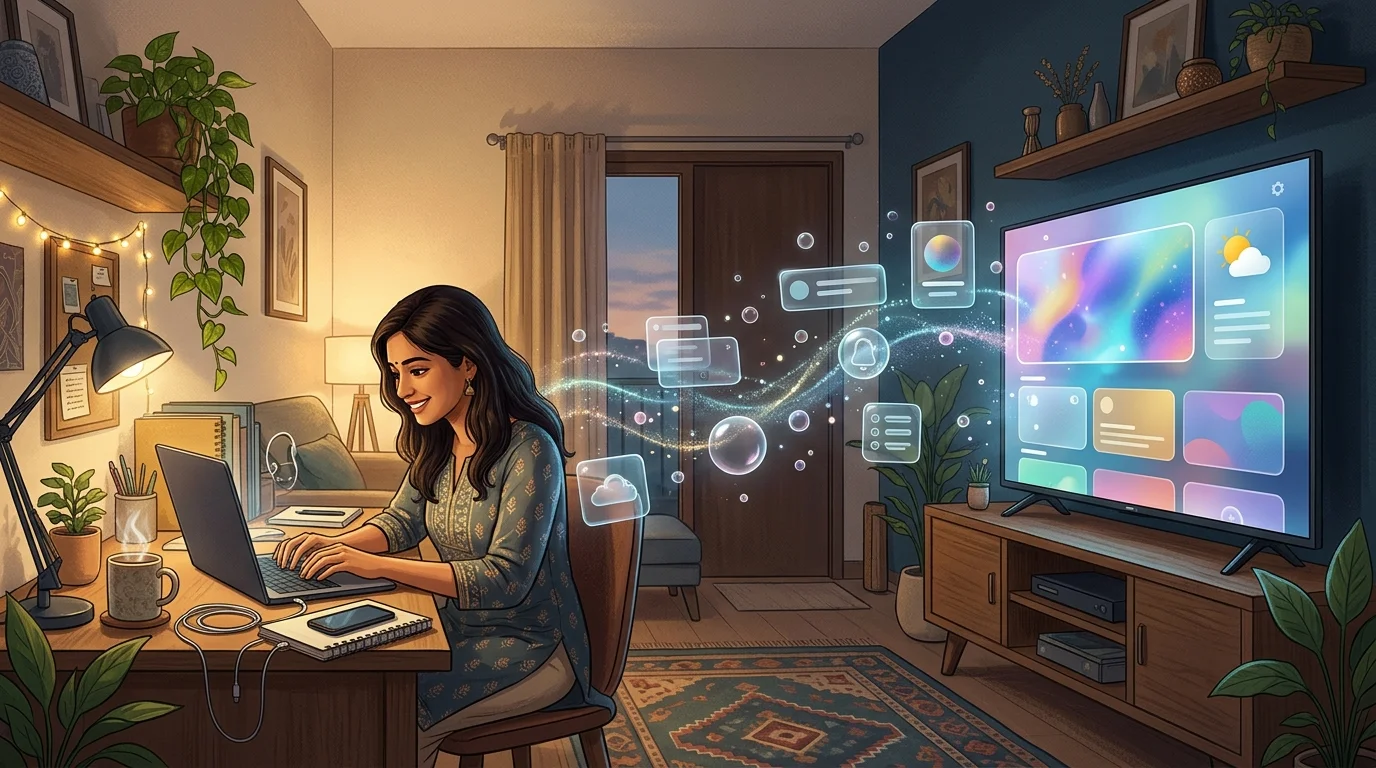
Whenever I return to our lab in Madurai after days in remote tribal villages testing maternal health sensors, I like to sit down in front of a screen with a cup of black coffee and simply reflect. But a few months ago, a minor frustration caught my attention. I switched on our lab’s smart TV—a budget-friendly Android TV we use for team standups and dashboard previews—and watched it struggle.
It took nearly twenty seconds just to show the home screen. When it finally did, half the display was covered in movie trailers I had no interest in watching, promotional carousels pushing paid subscriptions, and background apps hogging memory. Our hardware was gasping for air just to render advertisements.
As an engineer who has spent decades building low-power IoT devices and mesh networks, this felt entirely backward. If we can run real-time biometric analysis on a microchip in rural clinics, why should a quad-core television choke on its own home screen?
That evening, I decided to fix it. Instead of spending two weeks writing boilerplate Android code, I sat down with Anti-gravity, our modern AI agentic development environment, connected to the TV over local Wi-Fi, and built a custom, stripped-down TV launcher from scratch.
Here is how you can build and deploy your own lightweight, liquid glass Android TV app launcher this weekend.
Why Build a Custom TV Launcher?
Most smart TVs in our living rooms and hackspaces run on constrained hardware: typically 1 GB to 2 GB of RAM and entry-level chipsets. Yet stock system software treats these televisions like billboards first and computing platforms second.
When you install a custom TV launcher, you accomplish three things:
- You eliminate bloat: By deactivating background telemetry, ad carousels, and unneeded vendor services, you free up volatile memory and CPU cycles.
- You reclaim intent: Your TV becomes an intentional display. It shows what you want—your daily metrics, custom video feeds, smart home controls, or just your four favorite apps.
- You learn system-level Android development: Building for television teaches you how the Android D-pad navigation framework functions, how focus engines work, and how lean frontends operate under limited graphics pipelines.
For student founders and hobbyist makers, this is one of the most rewarding hardware-software weekend experiments you can run.
Step 1: Put Your TV into Developer Mode
Before your computer can communicate with your television, you need to unlock its developer settings. The steps are almost identical across Xiaomi, TCL, Sony, OnePlus, or generic Google TV boxes.
- Turn on your TV and open the Settings menu (the gear icon in the top right corner).
- Navigate to Device Preferences (or System) and select About.
- Scroll down until you find Android TV OS Build (or simply Build Number).
- Press the Center/OK button on your remote control repeatedly—usually seven times. You will see a toast notification on the bottom of the screen saying: "You are now X steps away from being a developer," followed by "You are now a developer!"
- Back out one level in the menu and open the newly revealed Developer Options.
- Toggle USB Debugging to ON. If your television has a specific toggle for Network Debugging, enable that as well.
Before moving to your laptop, stay in the network settings for a moment. Open Settings > Network & Internet, select your connected Wi-Fi network, and note your TV’s local IP address (for example, 192.168.1.45). Make sure your laptop and TV are on the exact same local Wi-Fi subnet.
Step 2: Install Anti-gravity and Connect Over Wireless ADB
Now shift to your development workstation.
Anti-gravity is an autonomous engineering tool that pairs high-level agentic LLMs with direct command-line and filesystem execution capabilities. Instead of just producing disconnected snippets of code, it can inspect connected hardware, run build pipelines, manage package states through the Android Debug Bridge (ADB), and iteratively repair errors during compilation.
Setting Up the Environment
First, make sure your computer has the Android platform tools installed. If you already have Android Studio, ADB is likely already in your path. If not, you can install the platform tools directly:
# On macOS via Homebrew
brew install android-platform-tools

# On Ubuntu / Debian
sudo apt update && sudo apt install android-tools-adb
Next, initialize your Anti-gravity workspace on your laptop. You can launch Anti-gravity inside a clean directory where you want your new launcher project to live:
mkdir tv-liquid-launcher
cd tv-liquid-launcher
anti-gravity init
Establishing the Wireless Handshake
Test the wireless link between your computer and the TV. Open a terminal pane inside Anti-gravity and execute:
adb connect 192.168.1.45:5555
Look up at your TV screen. A prompt will appear asking: "Allow USB debugging from this computer?" Check the box that says "Always allow from this computer" and click Allow using your TV remote.
Run adb devices inside your terminal. You should see an output confirming the connection:
List of devices attached
192.168.1.45:5555    device
If the status says unauthorized, unplug the TV power cable, plug it back in, and rerun the connect command to trigger the authorization modal again.
Step 3: Prompting Anti-gravity to Build and Debloat
With the wireless bridge established, Anti-gravity can communicate directly with your TV's package manager and start scaffolding your custom Android TV app.
Now, give Anti-gravity its marching orders. Provide this prompt directly into your agent interface:
"Connect with my TV model name and IP address. You need to debloat my TV and make it super fast. Develop a new launcher app with liquid glass design with minimal UI. Based on the time of the day it should greet me and tell weather updates."
What Anti-gravity Does Under the Hood
When given this directive, Anti-gravity breaks the assignment into three distinct operational phases:
1. Hardware Inspection and Safe Debloating
Anti-gravity queries your TV's device profile via ADB commands:
adb shell getprop ro.product.model
adb shell getprop ro.build.version.release
It reads the installed third-party and pre-loaded system packages using pm list packages.
Instead of aggressively ripping out system packages that might cause a boot-loop, Anti-gravity focuses on disabling heavy background telemetry, unused default media stores, and advertising analytics using commands like:
adb shell pm disable-user --user 0 com.google.android.videos
adb shell pm disable-user --user 0 com.android.providers.partnerbookmarks
2. Scaffolding the Liquid Glass Interface
Next, the agent generates a modern Android project targeting Leanback and Jetpack Compose for TV.
To achieve a true "liquid glass" look on a television display, the app avoids opaque, flat tiles. Instead, it constructs translucent panels with rounded borders, subtle linear gradients, and a frosted glass blur backdrop.
Anti-gravity configures:
- A translucent background layer using layered scrims (
Color(0x33FFFFFF)with subtle radial highlights). - A dynamic greeting banner that evaluates the system clock: "Iniya Kaalai Vanakkam" or "Good Morning, Senthil" during early hours, transitioning smoothly to afternoon and evening states.
- An asynchronous network worker that fetches weather conditions from an open endpoint using the TV’s coarse IP-based location, displaying ambient temperature and cloud coverage icons without needing heavy location services.
- A horizontal, focus-aware app rail that lists only your explicitly whitelisted applications.
3. Focus Engine and Remote Navigation
The most common mistake when building a TV launcher is forgetting that televisions do not have touchscreens. Everything relies on the D-Pad: Up, Down, Left, Right, and Center Select.
Anti-gravity injects clear focus listeners (Modifier.focusable() and .onFocusChanged()) so that whenever a card is selected, it subtly scales up by 1.08x, deepens its glass drop shadow, and illuminates its border.
Step 4: Safety First – The Fail-Safe and Reset Script
Whenever you build custom home replacements or disable system-level apps, you must always maintain an emergency exit door. If something goes wrong, you should never have to manually factory reset your TV using physical pinholes.
Before testing your new launcher, verify that Anti-gravity has generated an automated recovery script in your workspace: reset_tv.sh.
Here is what that fail-safe script should look like:
#!/usr/bin/env bash
# Fail-safe restoration script

TV_IP="192.168.1.45:5555"

echo "Connecting to TV..."
adb connect $TV_IP

echo "Restoring disabled packages..."
adb shell pm enable com.google.android.tvlauncher
adb shell pm enable com.google.android.leanbacklauncher
adb shell pm enable com.google.android.videos

echo "Setting default launcher back to stock..."
adb shell cmd package set-home-activity com.google.android.tvlauncher/.MainActivity || true

echo "Uninstalling custom liquid glass launcher..."
adb uninstall com.makers.liquidlauncher

echo "System restored to default operational state."
Make the script executable:
chmod +x reset_tv.sh
Keep this script open in a background terminal. If the screen goes black, or if your launcher hangs on a bad render loop, running ./reset_tv.sh instantly restores your stock interface in less than five seconds.
Step 5: Run, Test, and Sideload onto the Big Screen
With the code compiled and your reset script ready, it is time to deploy your new Android TV app.
Ask Anti-gravity to compile the debug APK and push it over the wireless connection:
./gradlew assembleDebug
adb install -r -g app/build/outputs/apk/debug/app-debug.apk
Once the installation is complete, launch the activity directly using ADB to test it without immediately overriding your TV's default behavior:
adb shell am start -n com.makers.liquidlauncher/.MainActivity
What You Should See
Look at your TV screen. The cluttered rows of sponsored videos and auto-playing trailers should be gone.
In their place, you will see a clean, dark glass interface. In the top corner, the launcher reads: "Good Evening — 28°C, Madurai." Across the center of the display sits a clean, floating glass dock displaying only the streaming and dashboard tools you actually care about.
Pick up your remote control and click through the apps. Notice how responsive the navigation feels. Without six background advertising services competing for CPU time, the transition latency drops noticeably. The D-pad inputs register instantly.
+-----------------------------------------------------------+
| Good Evening. 28°C Clear — Madurai                        |
|                                                           |
|       +-------+   +-------+   +-------+   +-------+       |
|       | Glass |   | Media |   | Lab   |   | Tools |       |
|       | App 1 |   | Center|   | Dash  |   |       |       |
|       +-------+   +-------+   +-------+   +-------+       |
|                                                           |
| [Press Home to return / Remote focus: ACTIVE]             |
+-----------------------------------------------------------+
Once you are completely satisfied with stability, you can press the physical Home button on your remote. Android TV will ask which app you want to use as your Home screen. Choose your liquid glass launcher and select "Always."
The Maker’s Mindset: Reclaiming Our Everyday Tools
When young engineers come to our hackathons in Madurai, I often tell them: Do not accept consumer software as an immutable fact.
The gadgets in our homes are general-purpose computers wrapped in polite plastic shells. When a manufacturer fills a display with slow, bloated interfaces, you do not have to accept it. You have the developer settings. You have ADB. And now, you have agentic tools like Anti-gravity that can scaffold clean code in minutes instead of weeks.
You do not need a team of twenty engineers in Silicon Valley to build an interface that respects your time and your hardware. You just need curiosity, an ADB connection, and a willingness to tinker.
Pick an evening this week, connect to your TV over Wi-Fi, and build something minimal and fast. If you run into issues or design an even better liquid glass layout, share your build with our maker community. Let's see what you create.